The modern books on knitting all said that for “worsted weight” yarn, one should use US size 7 or 8 or 9 needles. That did not giving me the 8 stitches per inch called for in traditional gansey patterns. Of course, the gansey patters asked for US size 1 needles, but the modern knitting books suggested using lace weight yarn with such small needles. With lace weight yarn, the stitch patterns of the gansey disappeared. I could not reproduce the texture and appearance of the old ganseys.
Over the holidays, I was knitting swatches of different yarns on some # 1 needles, and I realized a couple of things. First, that a “just under worsted weight”, was just the right weight yarn to give the 8 stitch per inch gauge that I wanted, and that the # 1 needles that I was using were wrong for that yarn, and wrong for a gansey project. Fine needles mind you! Just the wrong needles for the job. What is on the Internet?? Nothing that looked real promising.
The rest of this post is about making the right needles.
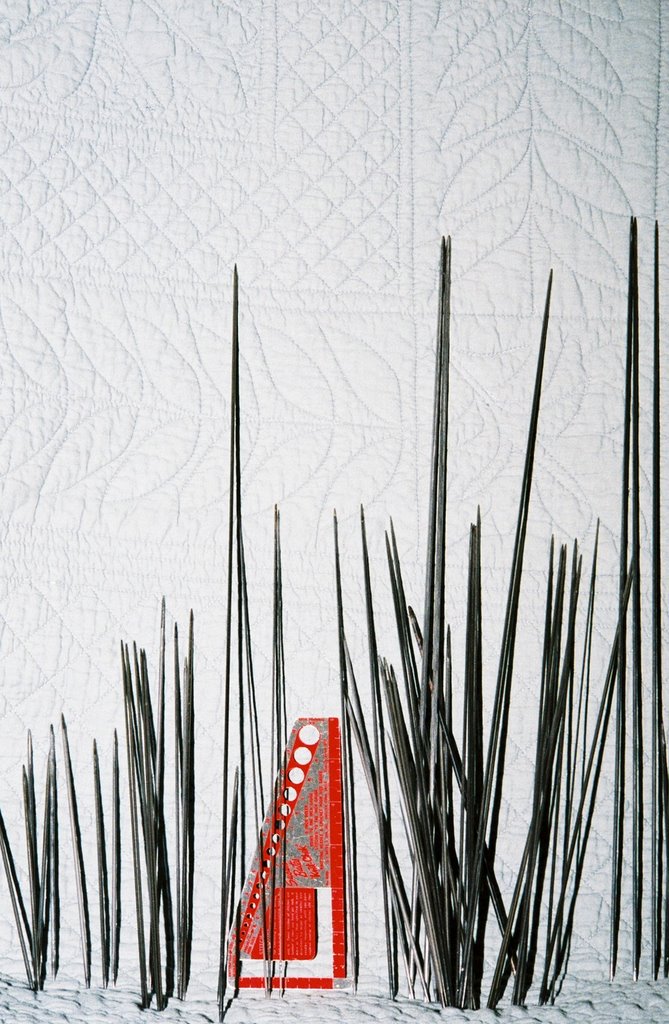
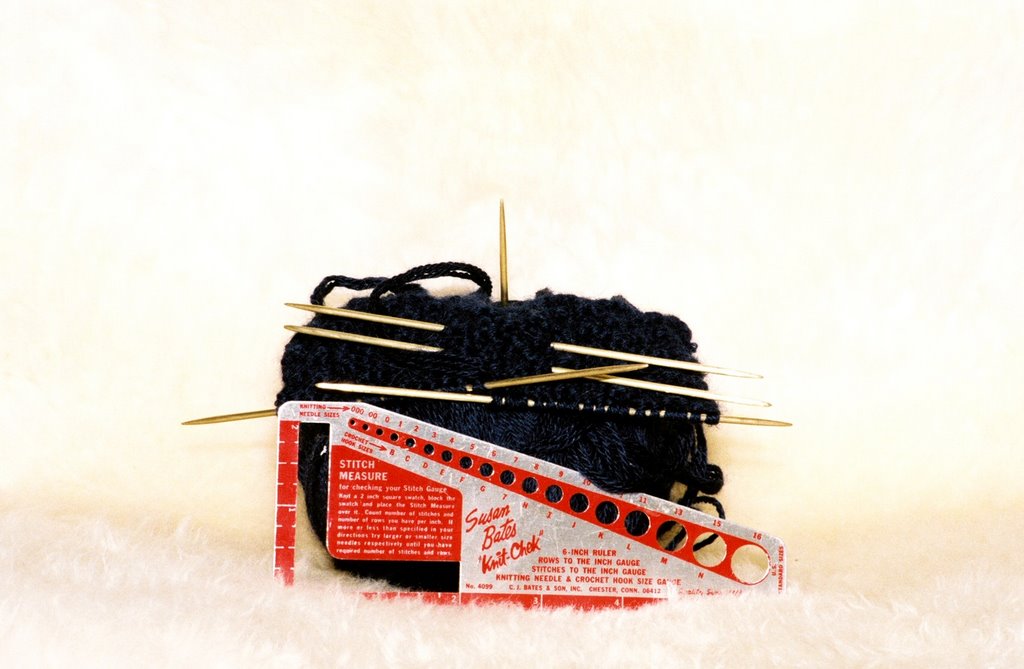
Now, I knew that the old time gansey knitters used steel needles. So, I went to the hardware store and I bought some carbon steel rod (they call it “music wire”) in 3/32-inch diameter. It is pretty inexpensive stuff, it only costs about $0.25 per foot. I also bought some similar sized brass rod, which is also not real expensive.
I used my little bench grinder to cut the rod to length, by rotating the rod against the wheel. This approach to cutting the needle blanks also started grinding the taper at the tip. Then, I chucked the needle blanks into my trusty; battery operated electric drill and use the drill to uniformly rotate the needle against the grinding wheel. (Wear gloves and eye protection when using the grinder.)
The rough ground tips where polished by hand with various grades of emery paper and then polished with crocus cloth. My wife was very suspicious of the ugly steel rods that came into the house, but she admits that the finished needles are beautiful, and she calls them my “silver bullets.” A similar process was used to make brass needles, which polish up even nicer, and are my “Golden Needles.” Golden needles are worth making just to keep on display, stuck in a ball of navy colored yarn. In the image of the brass needles in a ball of navy yarn, you can see that the needles are not buffed to high polish like jewelry.
I probably have 5 or 6 iterations of knitting swatches and regrinding points, and it has taken may be 15 hours of actual metal work to produce 40 finished needles. That is really nothing compared to the weeks of work in a single gansey, and these needles should last me through the knitting of many ganseys.
After a while, I found that I could regrind and polish a set of 4 points in a total time of 10 minutes. For the Cottage craft 2-ply yarn, I like the point taper to be 3/8” long and slightly concave just behind the point. The grinding process leaves grooves in the steel, and in the concave area, these are not completely polished out. Thus, there is an area of texturing just behind the tip, which helps to move the yarn into the stitch.
The required tools are really minimal. I think most home owners will already have all the require tools. The bench grinder is a cast off of my neighbor. If I had needed a really good grinder, I could have gone over and used one of his. The electric drill is just a cheap one that we bought for chores around the house. If I lived in an apartment and did not have the tools, I could make a decent set of steel DPN in a single evening with nothing more than a whet stone that measures ½” x ½” x 4” and cost only $15.00. It would take some patience, but anyone contemplating knitting a gansey better have plenty of patience. The other required materials are emery paper and crocus cloth, which are available at any good hardware store and quite inexpensive.
The brass needles have a wonderfully smooth knitting action, which is very pleasant indeed. Brass is heavy, you will not like #6 brass needles – they are just too heavy. But at size 1, the weight is pleasant. In cold weather, brass can be cold, so these are your summer needles. Brass does tarnish, and the tarnish products are toxic, so wash your hands after use and do not let the kids put them in their mouth. And, don’t you put them in your mouth either!
The steel needles will also tarnish. That is why the commercial steel needles are nickel-plated. For various reasons, the commercial steel needles are cast. That makes them harder and more brittle – more likely to just break when you drop them on a tile floor. And then, cast and plated steel is not as easy to regrind as music wire. And, if the point that the factory put on your cast steel needle does not fit your needs, again cast & plated needles are harder to regrind. And, these days you cannot get all the multitude of sizes and lengths that a real knitter may need. Those odd sizes and lengths you will just have to make yourself.
If I have been grinding and polishing my metal needles, then to store, I wipe them with WD-40, and wrap them in a cloth and place in a drawer. If I have been knitting with oiled wool, I simply wrap them in a cloth and place in a drawer. If there is the slightest hint of rust, it should be polished off with crocus cloth, or it will get worse.
.jpg)
No comments:
Post a Comment